UE4 Dialogue System Part3
Tutorial Project: Tutorial_DialogueSystem
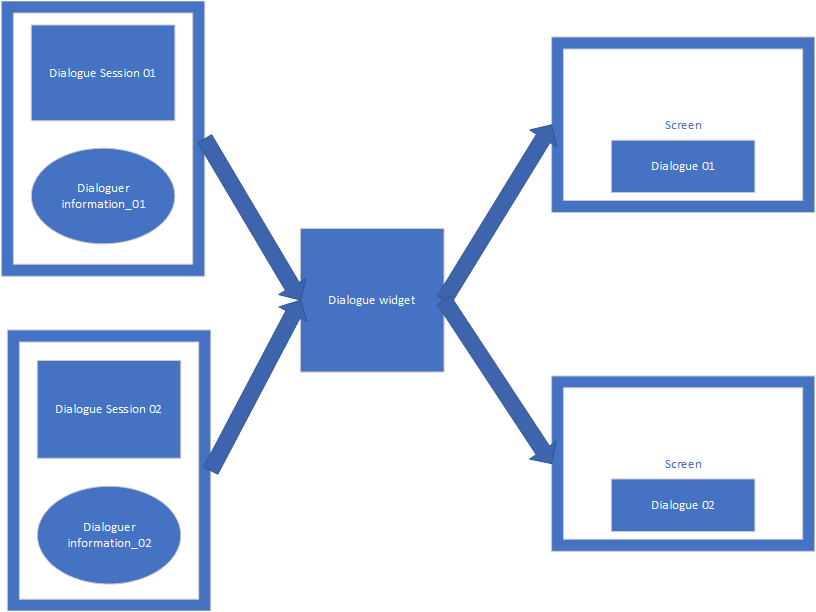
In this part, we will create a dialogue widget which use DialogueSession asset as input to display dialogue on screen.
Step 1
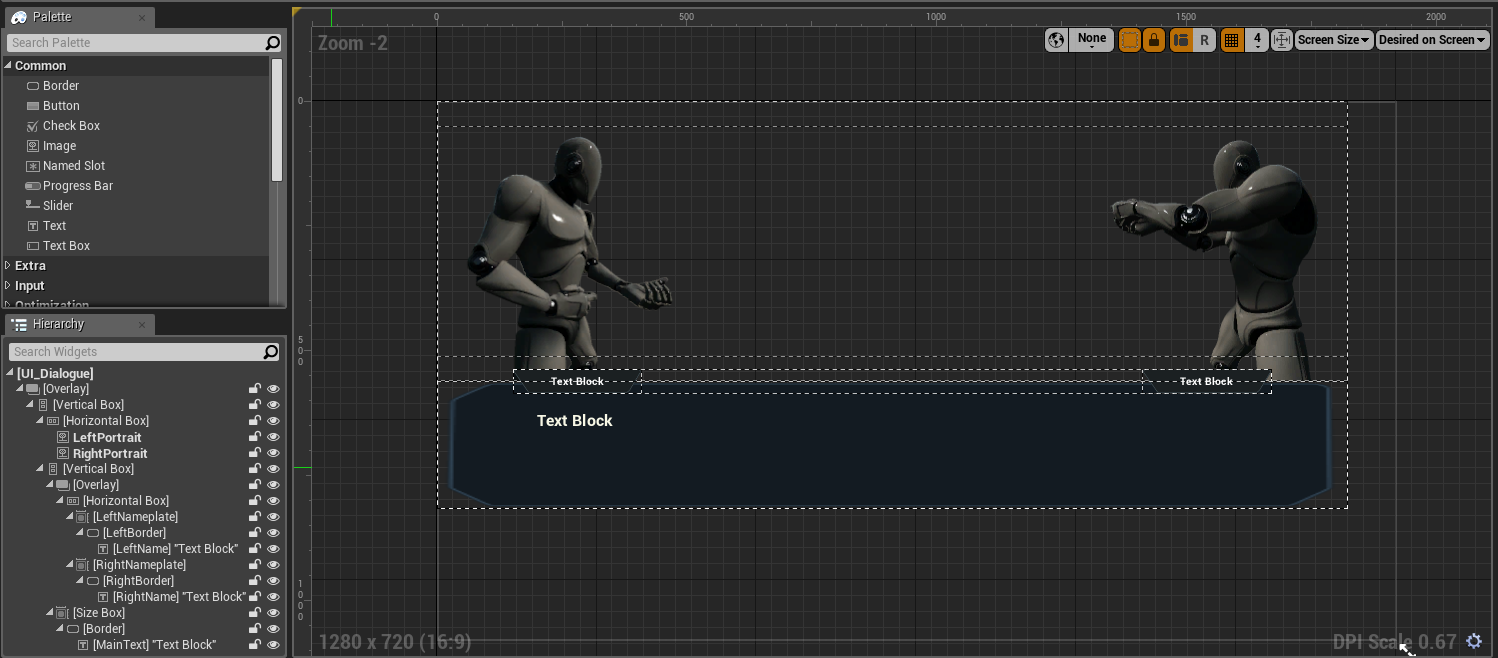
Create an UMG widget: UI_Dialogue, like this:
Step 2
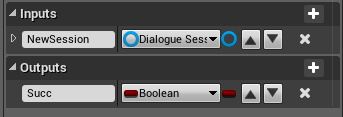
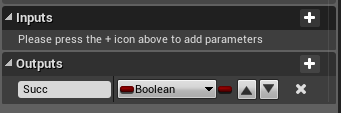
Create function: StartSession and Next.
StartSession’s function signature:
Next’s function signature:
Create some variables:
- CurrentSession: DialogueSession(type)
- CurrentDialogueNode: DialogueSessionNode(type)
- NodeIndex: Integer(type)
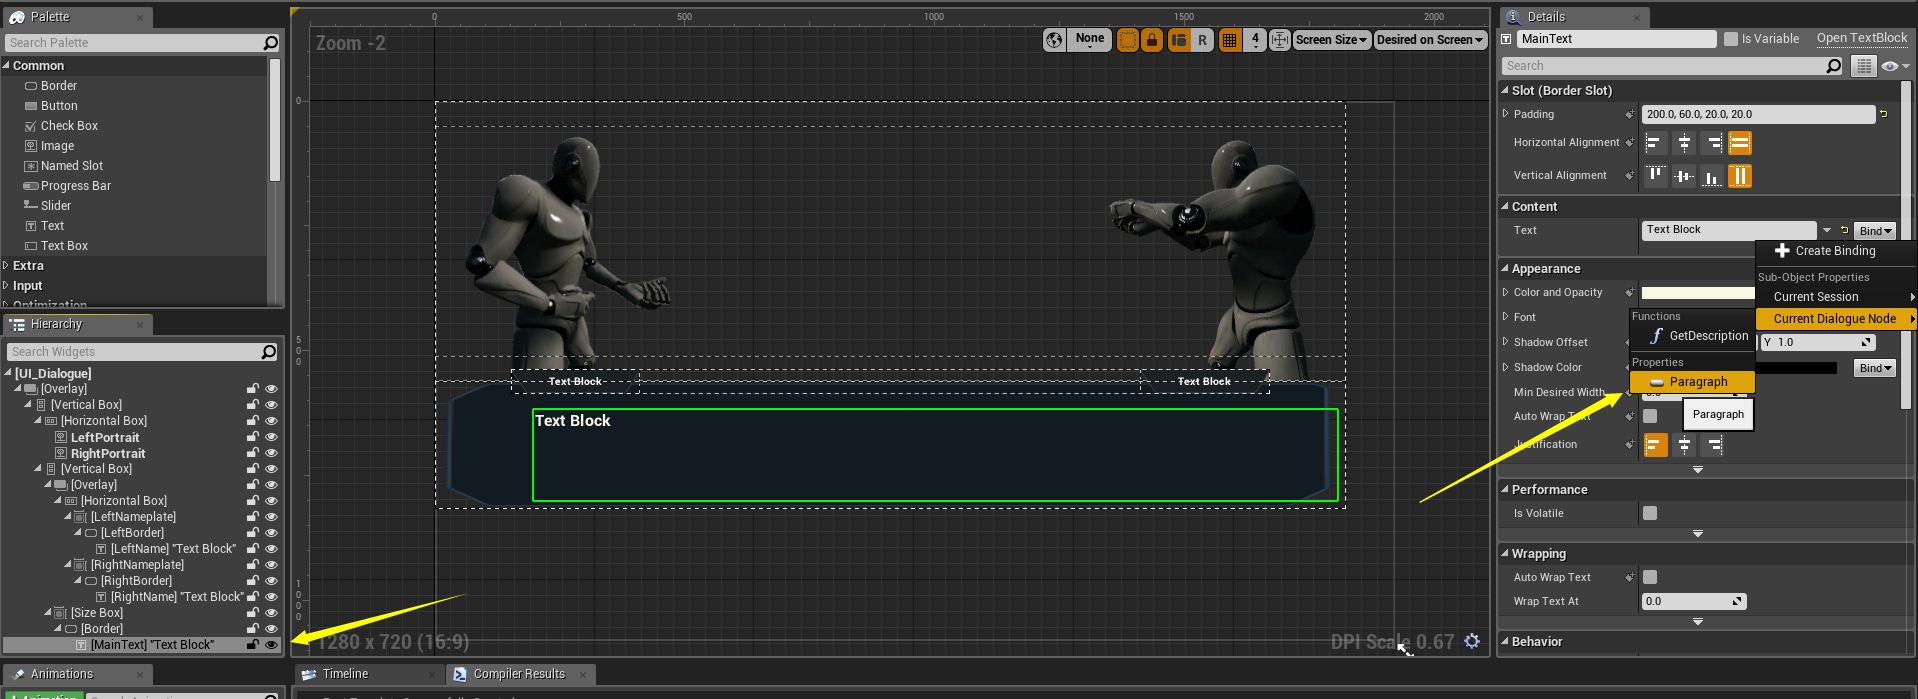
bind MainText’s Text field to CurrentDialogueNode’s Paragraph property, like this:
Step 3
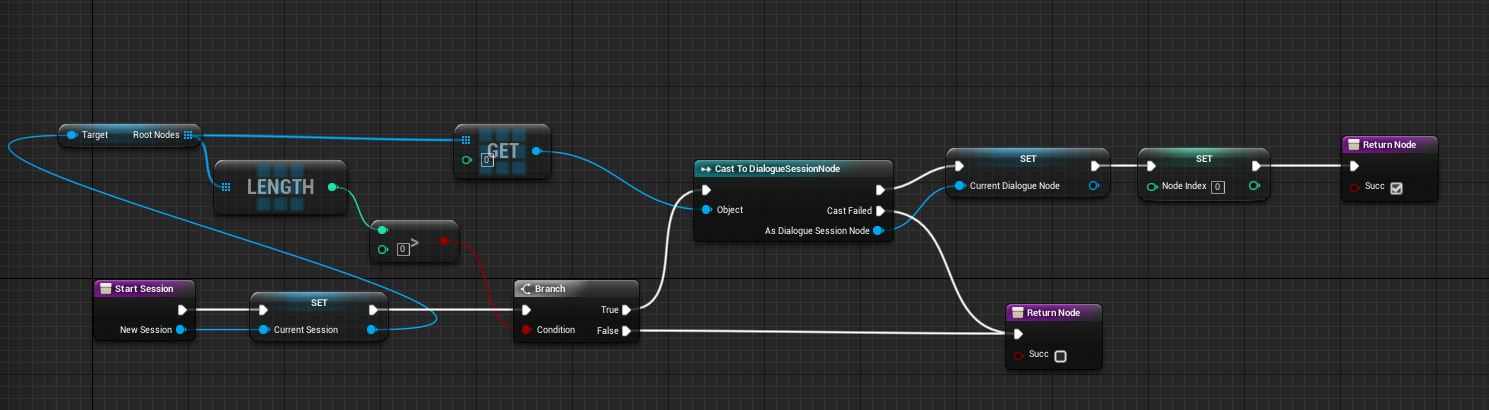
Implement function: StartSession
Step 4
Implement function: Next

Step 5
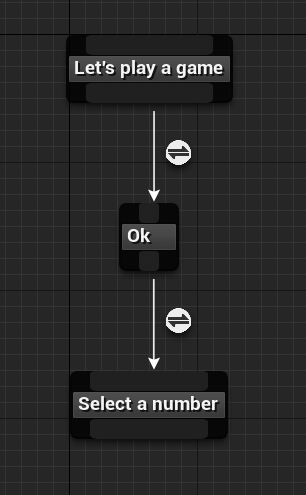
Create a DialogueSession asset: Dialogue_Test
Step 6
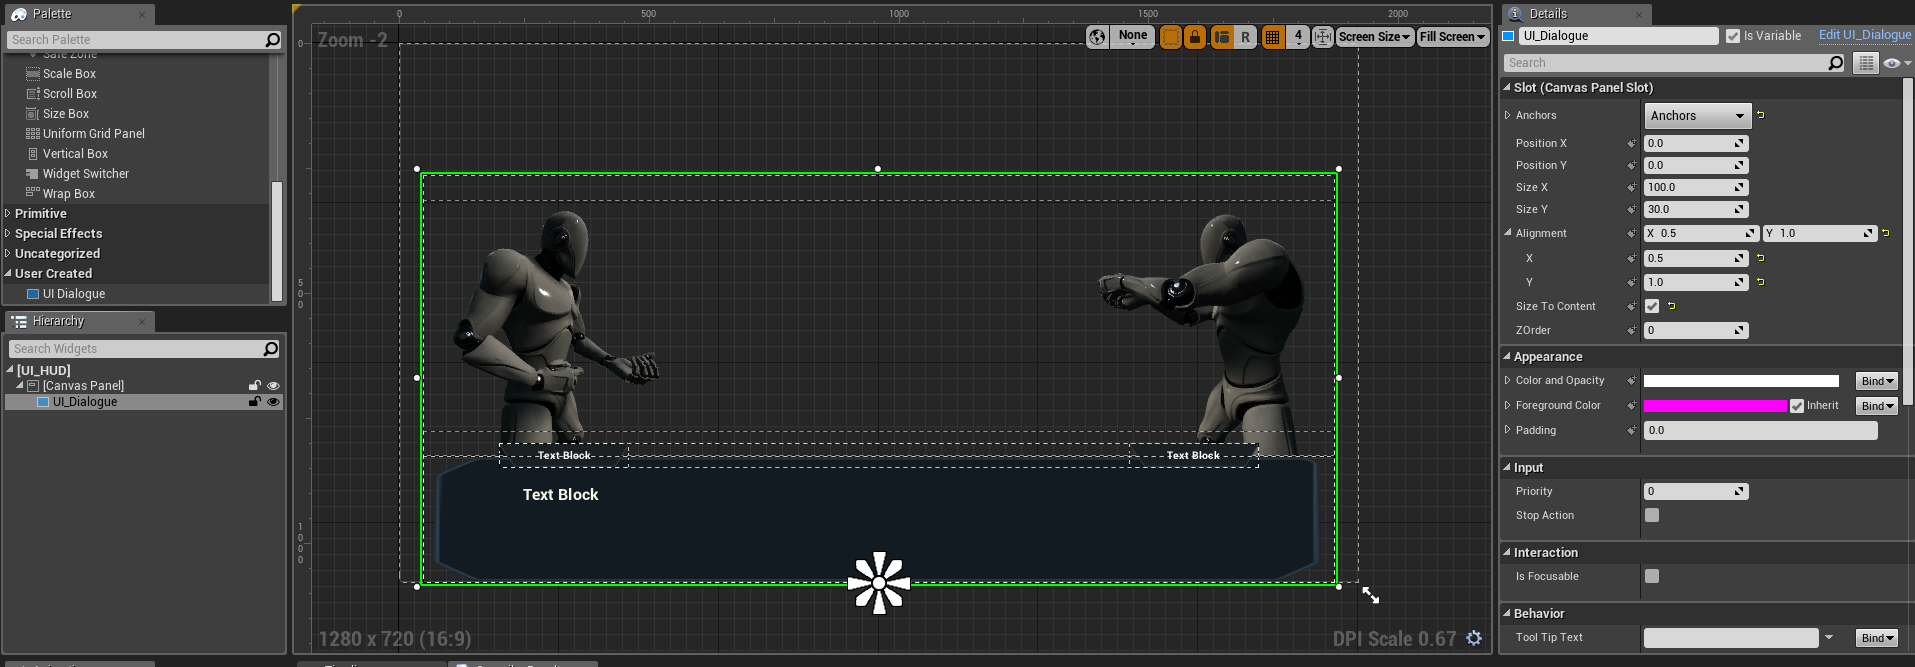
Create a UMG widget: UI_HUD, layout it like this:
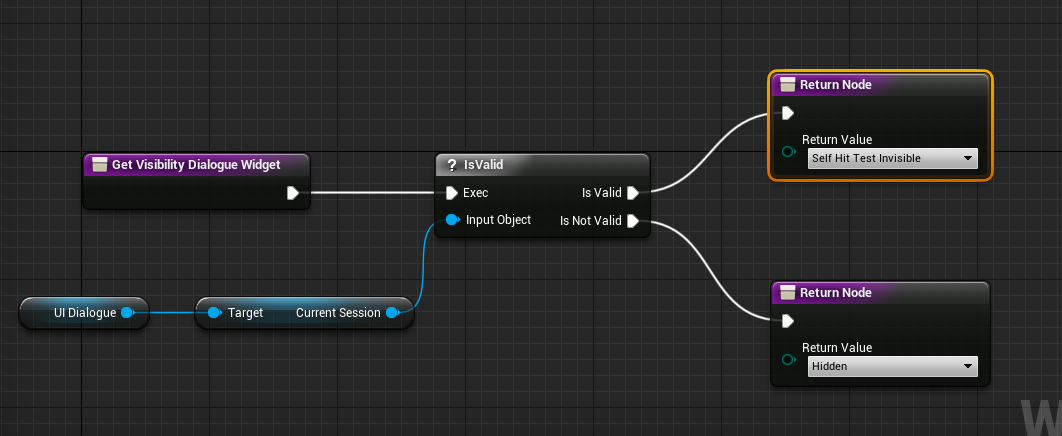
create a bind for UI_Dialogue’s Visibility:
Step 7
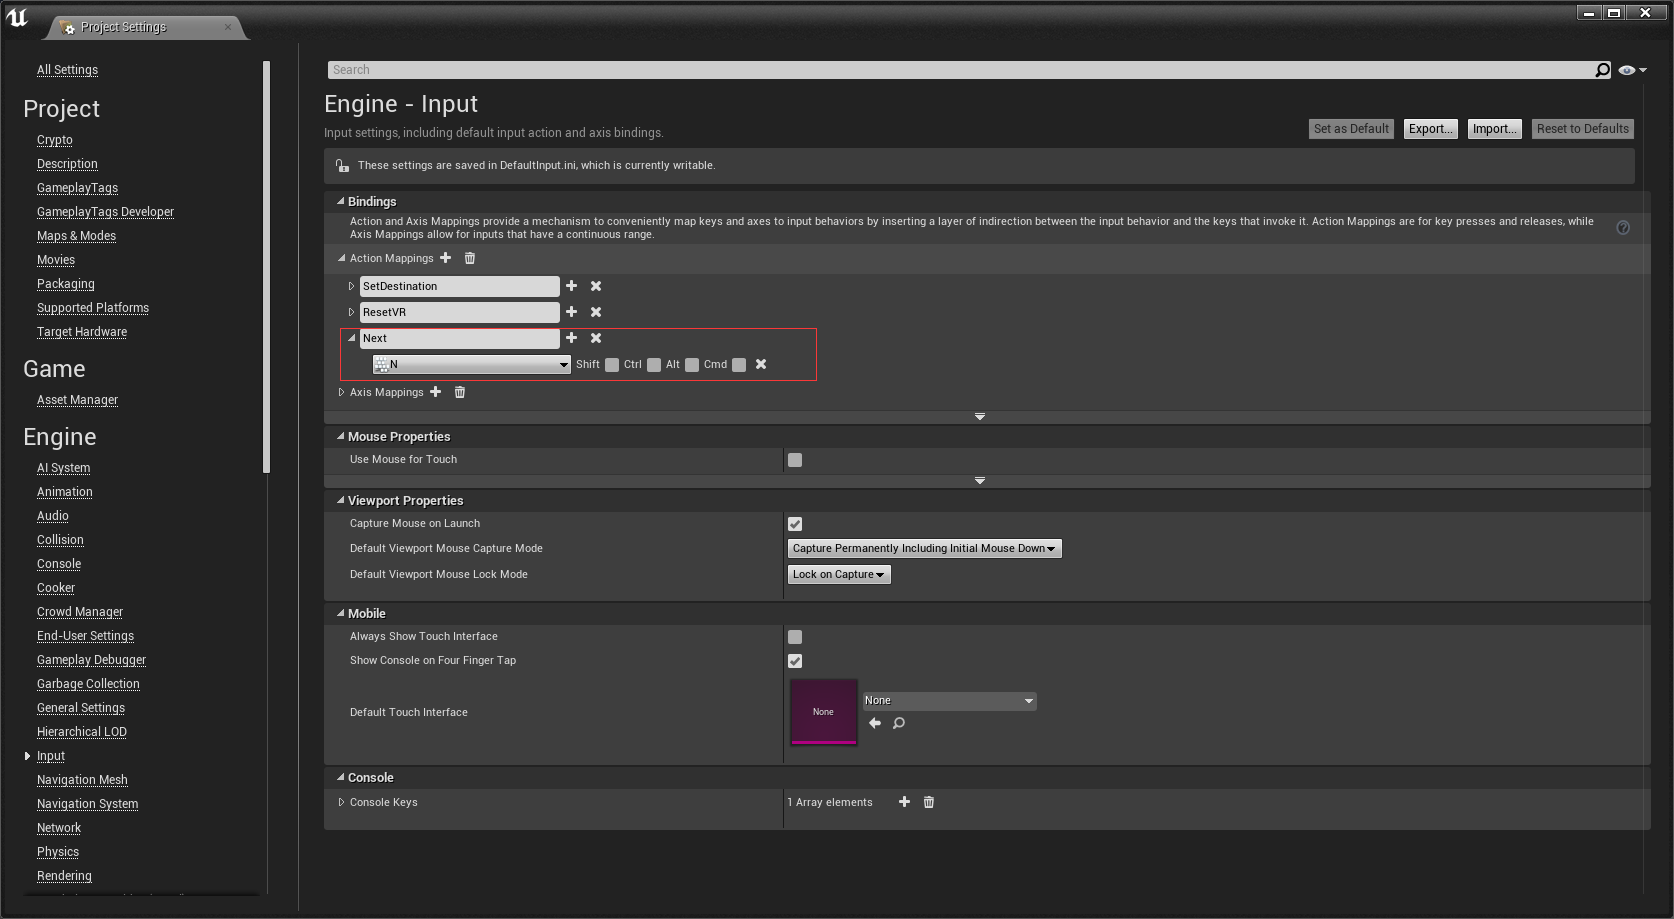
Setup input action mapping: Next
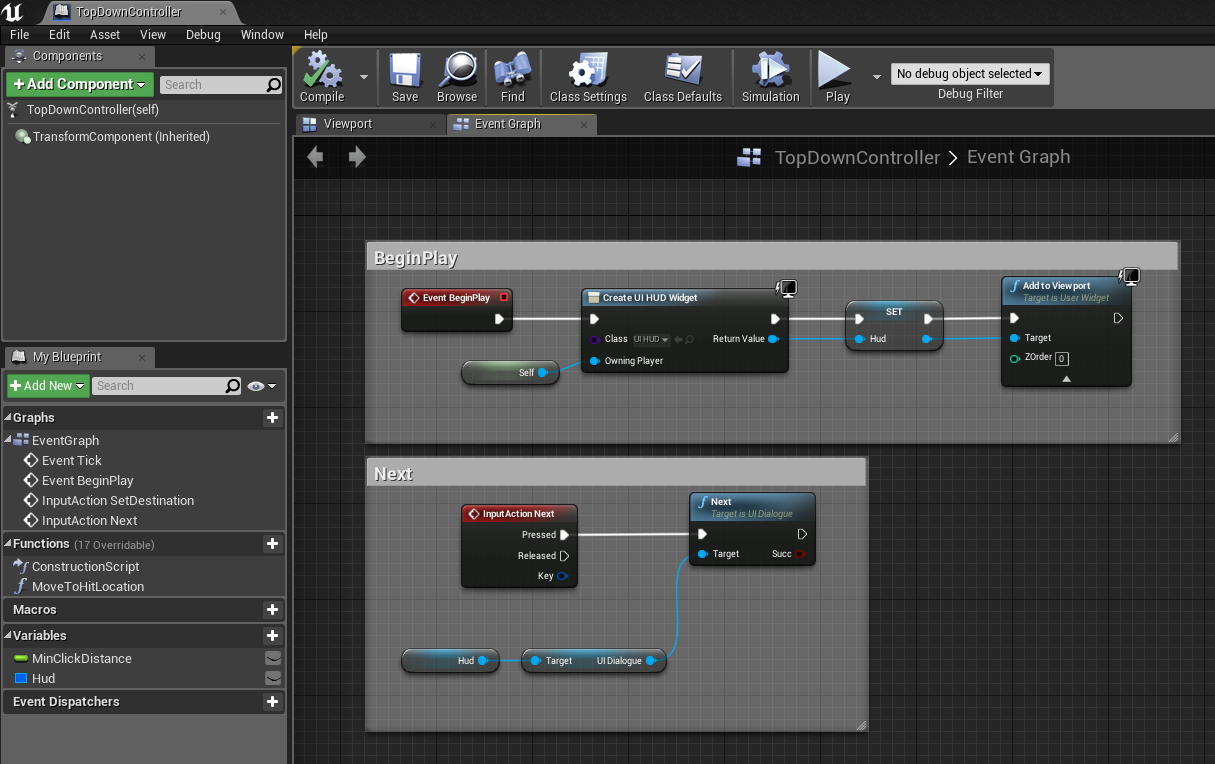
create an UI_HUD widget, add it to viewport and setup for Next event:
Step 8
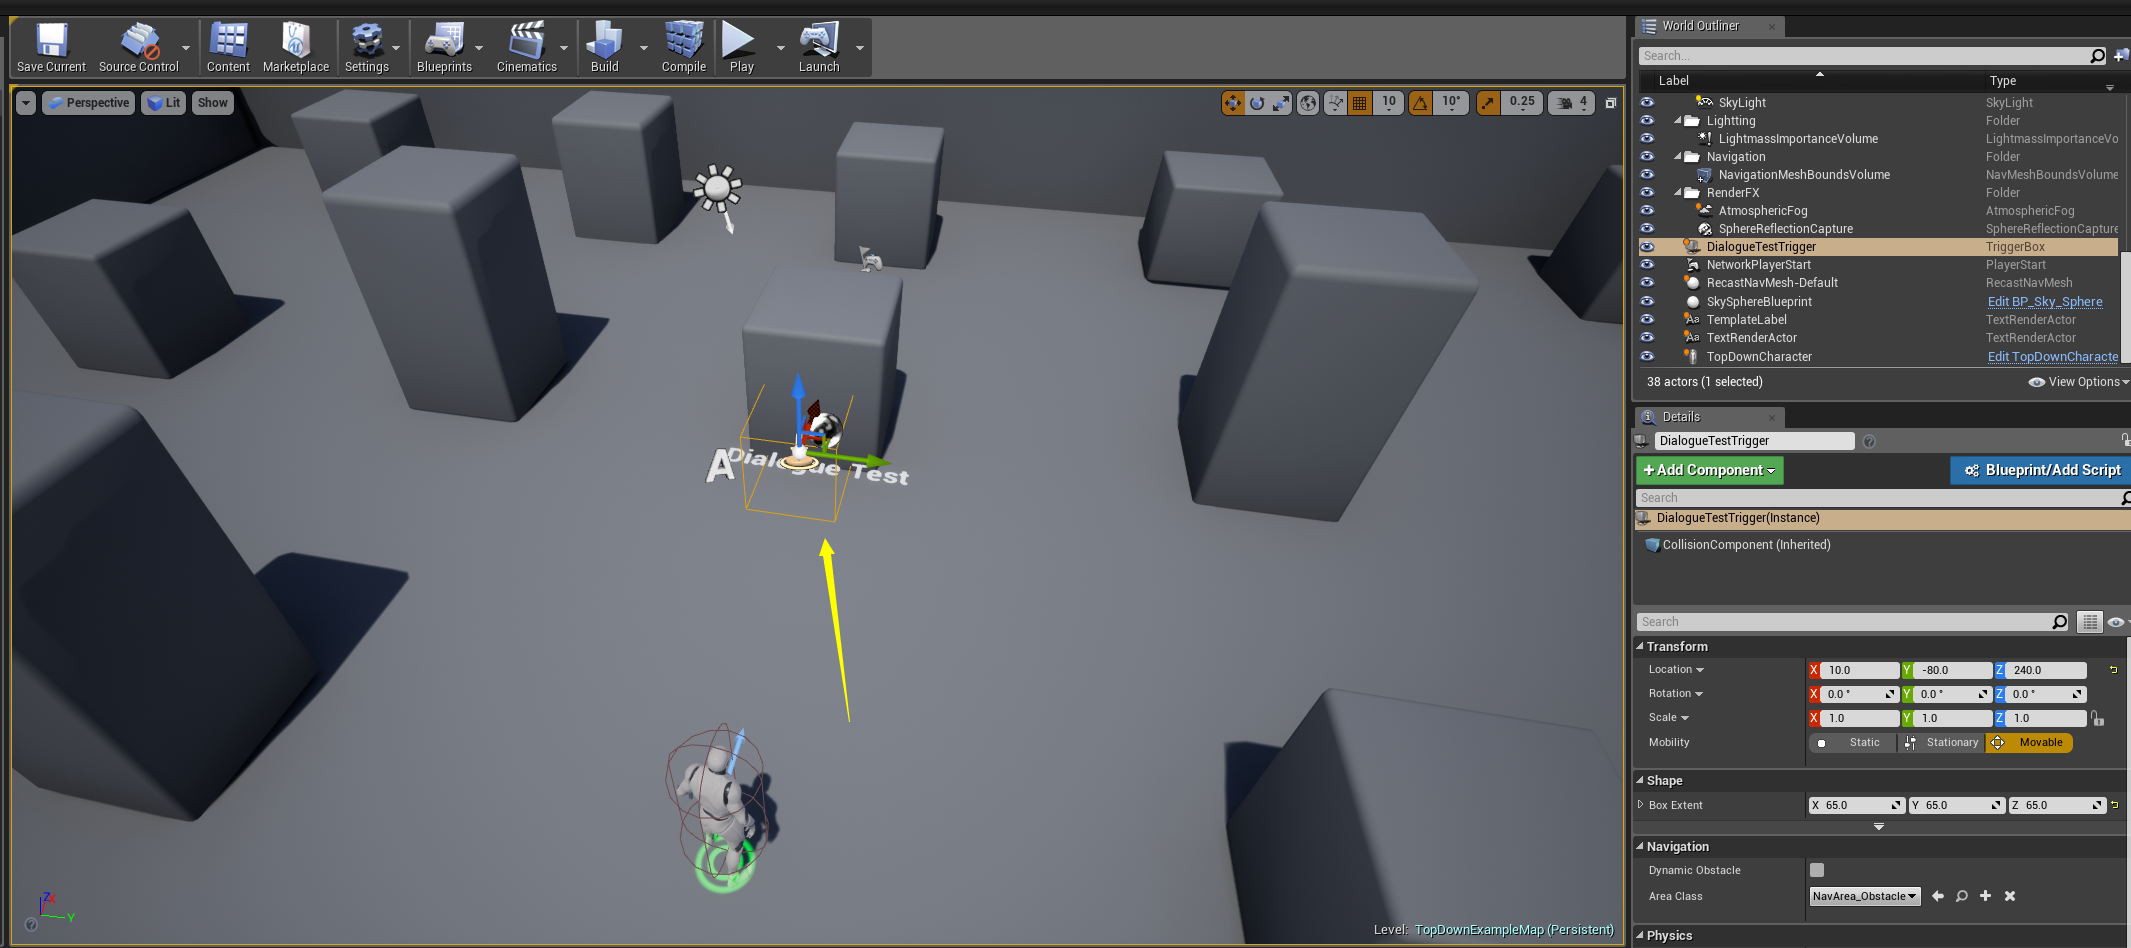
Add a test trigger into your test map
open Level Blueprint, setup BeginOverlap event like this:

Step 9
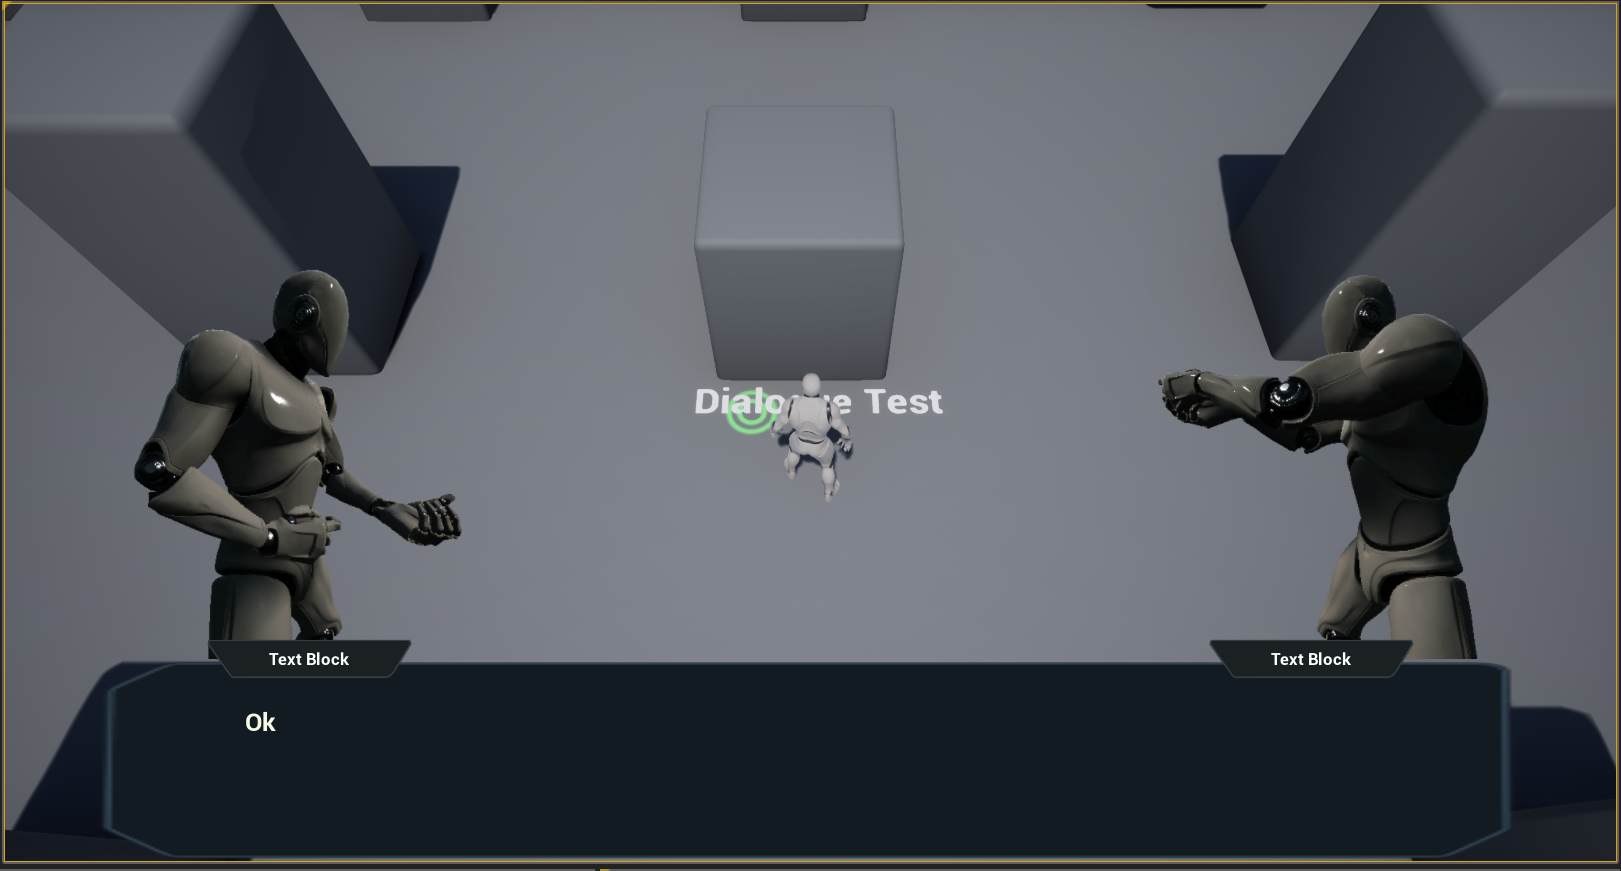
Play. move character to the position of test trigger, now you can see the dialogue widget. press N goto the next paragraph.
Done
That’s all in this part. In the next part, we wiil support dialoguer information such as: name, portrait image.